
Clone and verify
git clone https://github.com/ThomasRohde/nendo
cd nendo
pwsh ./tools/Test-Production.ps1
The full test gate takes about a minute.
Using Nendo
There is no download yet. Nendo installs per user on Windows x64, unsigned, with no releases, no updates and no support. That is where the project is today, and everything below assumes it.
Experimental. Nendo is a research prototype, not a product. ReadStatus before you rely on it for anything.
Step one
You need Windows x64, the WebView2 Evergreen runtime, the .NET SDK version pinned inglobal.json, and Node 22.12 or later (declared underengines in src/Nendo.Workbench/package.json). The Workbench is built first, because the desktop app bundles it.
git clone https://github.com/ThomasRohde/nendo
cd nendo
pwsh ./tools/Test-Production.ps1The full test gate takes about a minute.
pwsh ./tools/Publish-NendoPayload.ps1
pwsh ./tools/Build-NendoInstaller.ps1
Needs NSIS. Produces artifacts/installer/Nendo-Setup.exe, an unsigned per-user installer that installs into Programs/Nendo.
Step two
A new file is empty, and an empty file is a working application. Studio offers Create record type, and the Agent and Health pages are one click away. Import CSV becomes available once a record type exists. Studio never adds sample data or screens on its own.
Step three
Every record type automatically gets an All records table and a record editor, with create, edit and delete, sorting, filtering, search, history, and CSV import and export. It aims to feel like a database table in a modern notes app, not a raw SQLite browser.
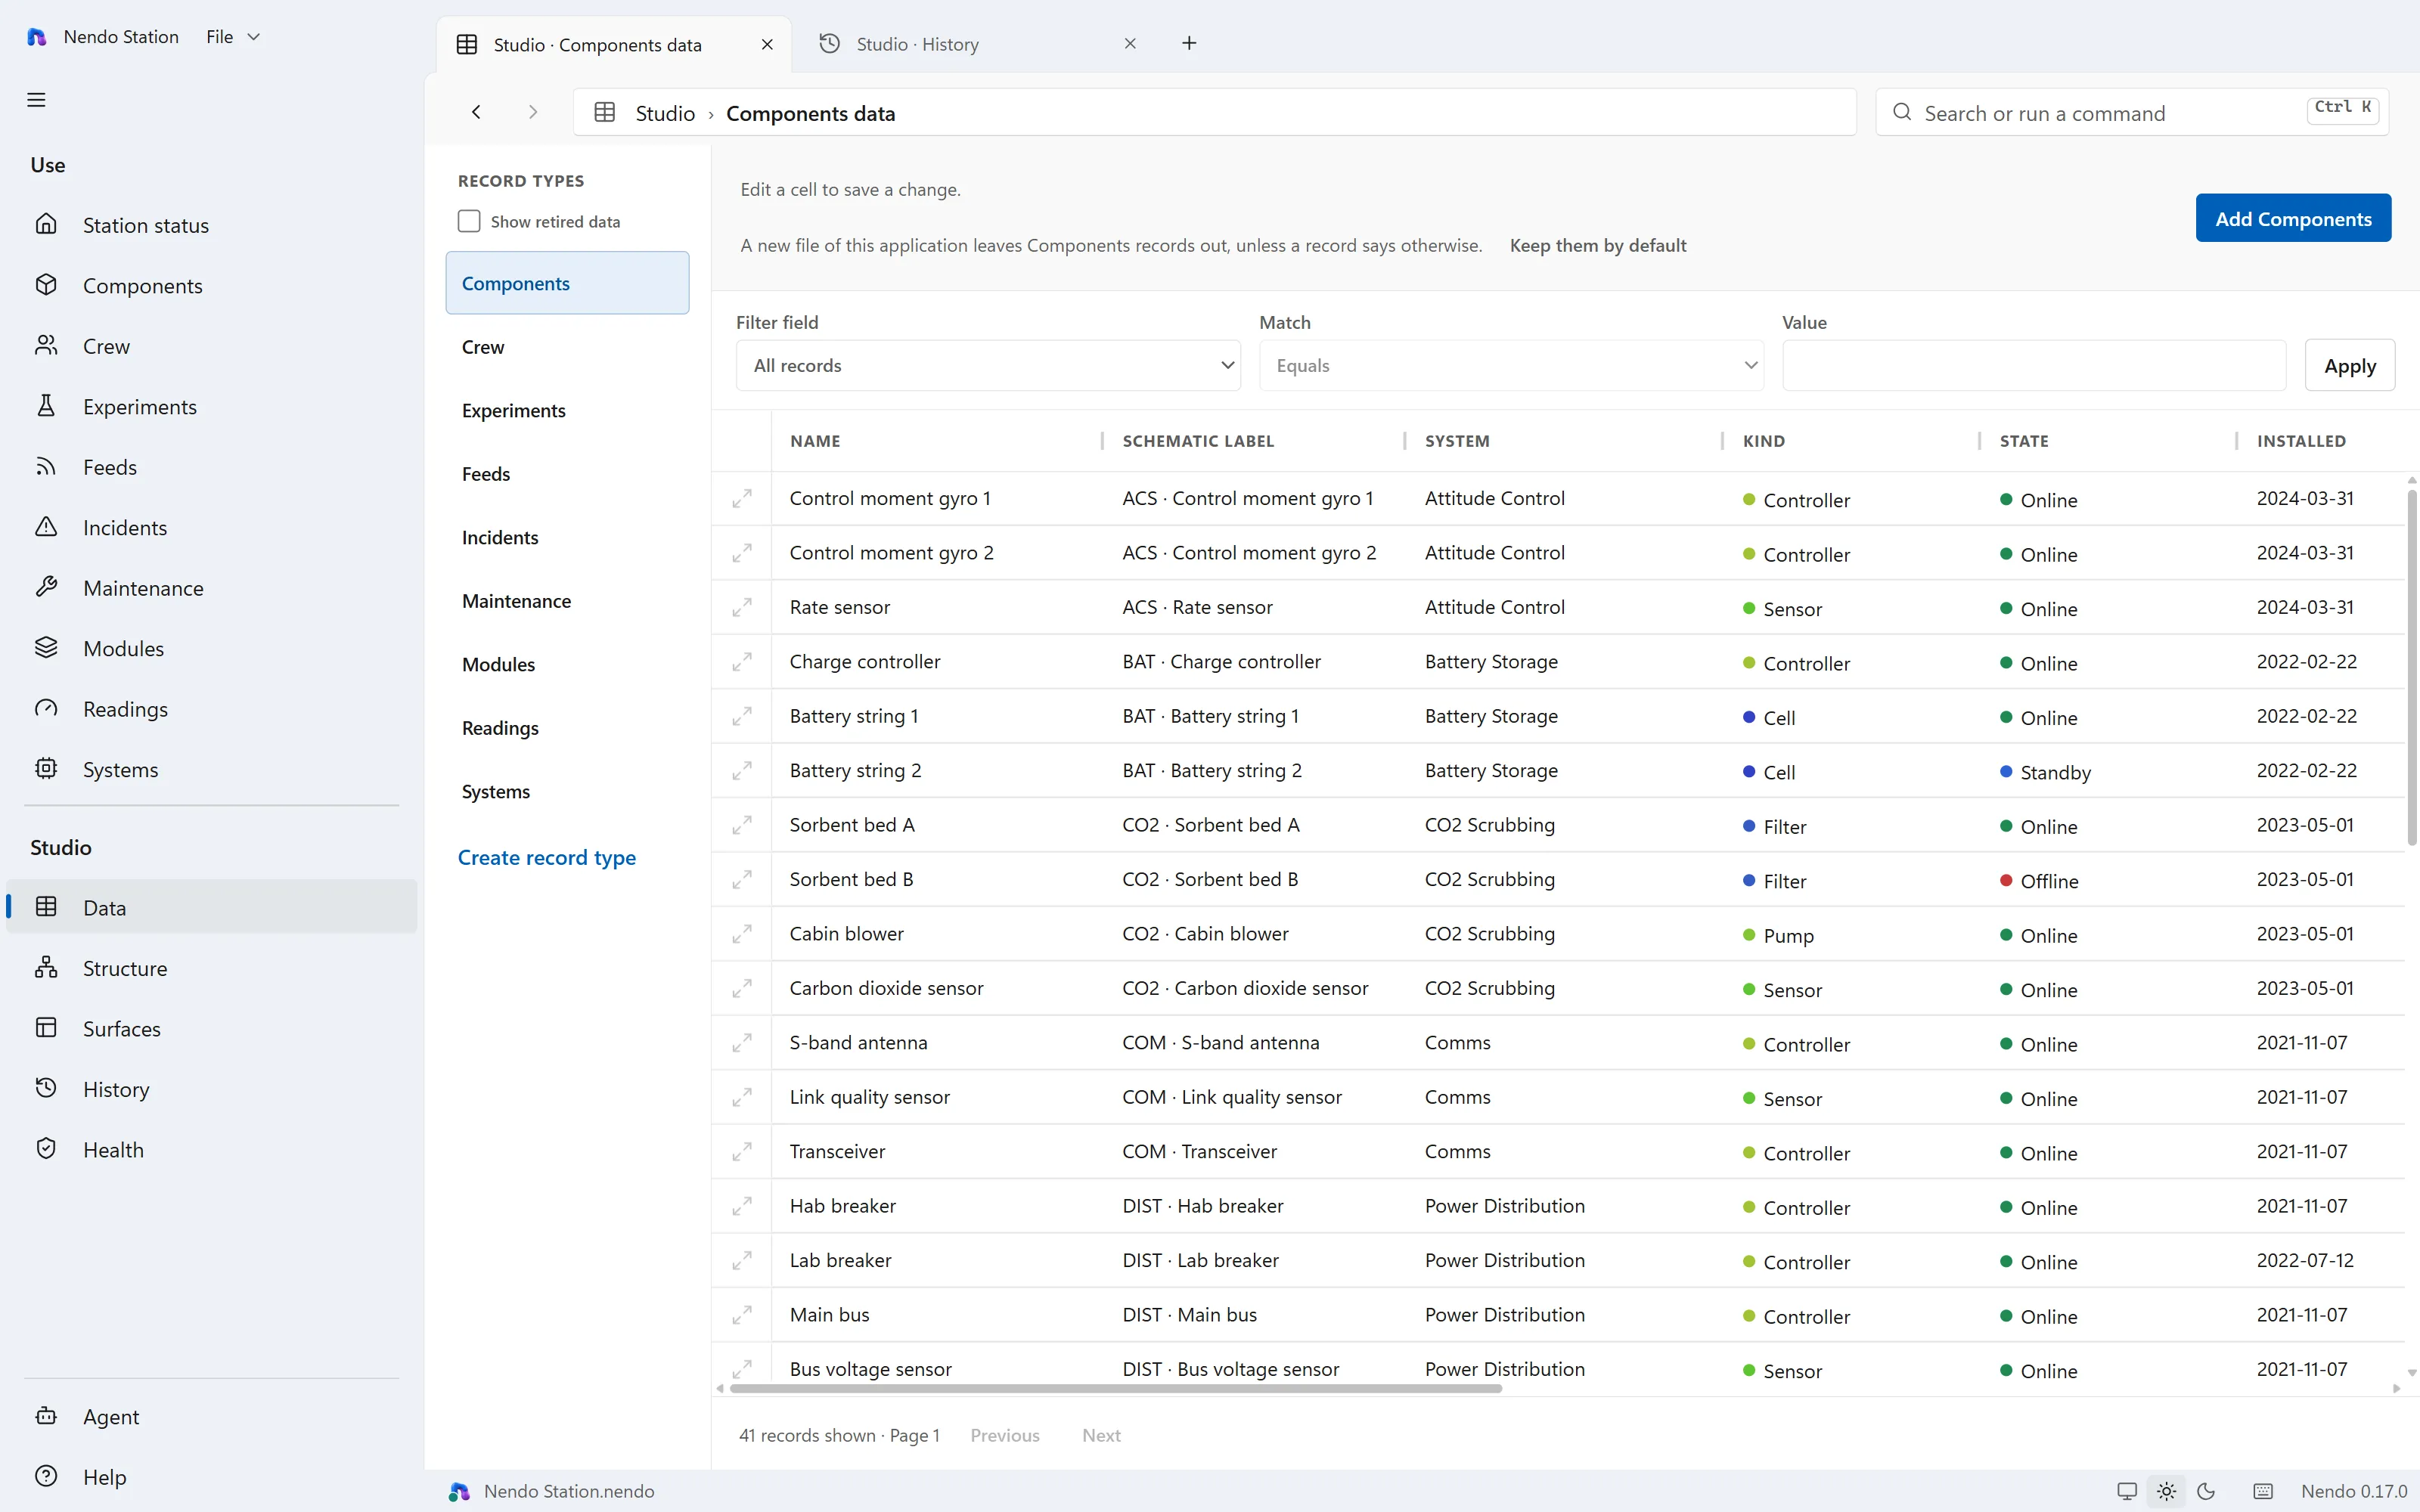
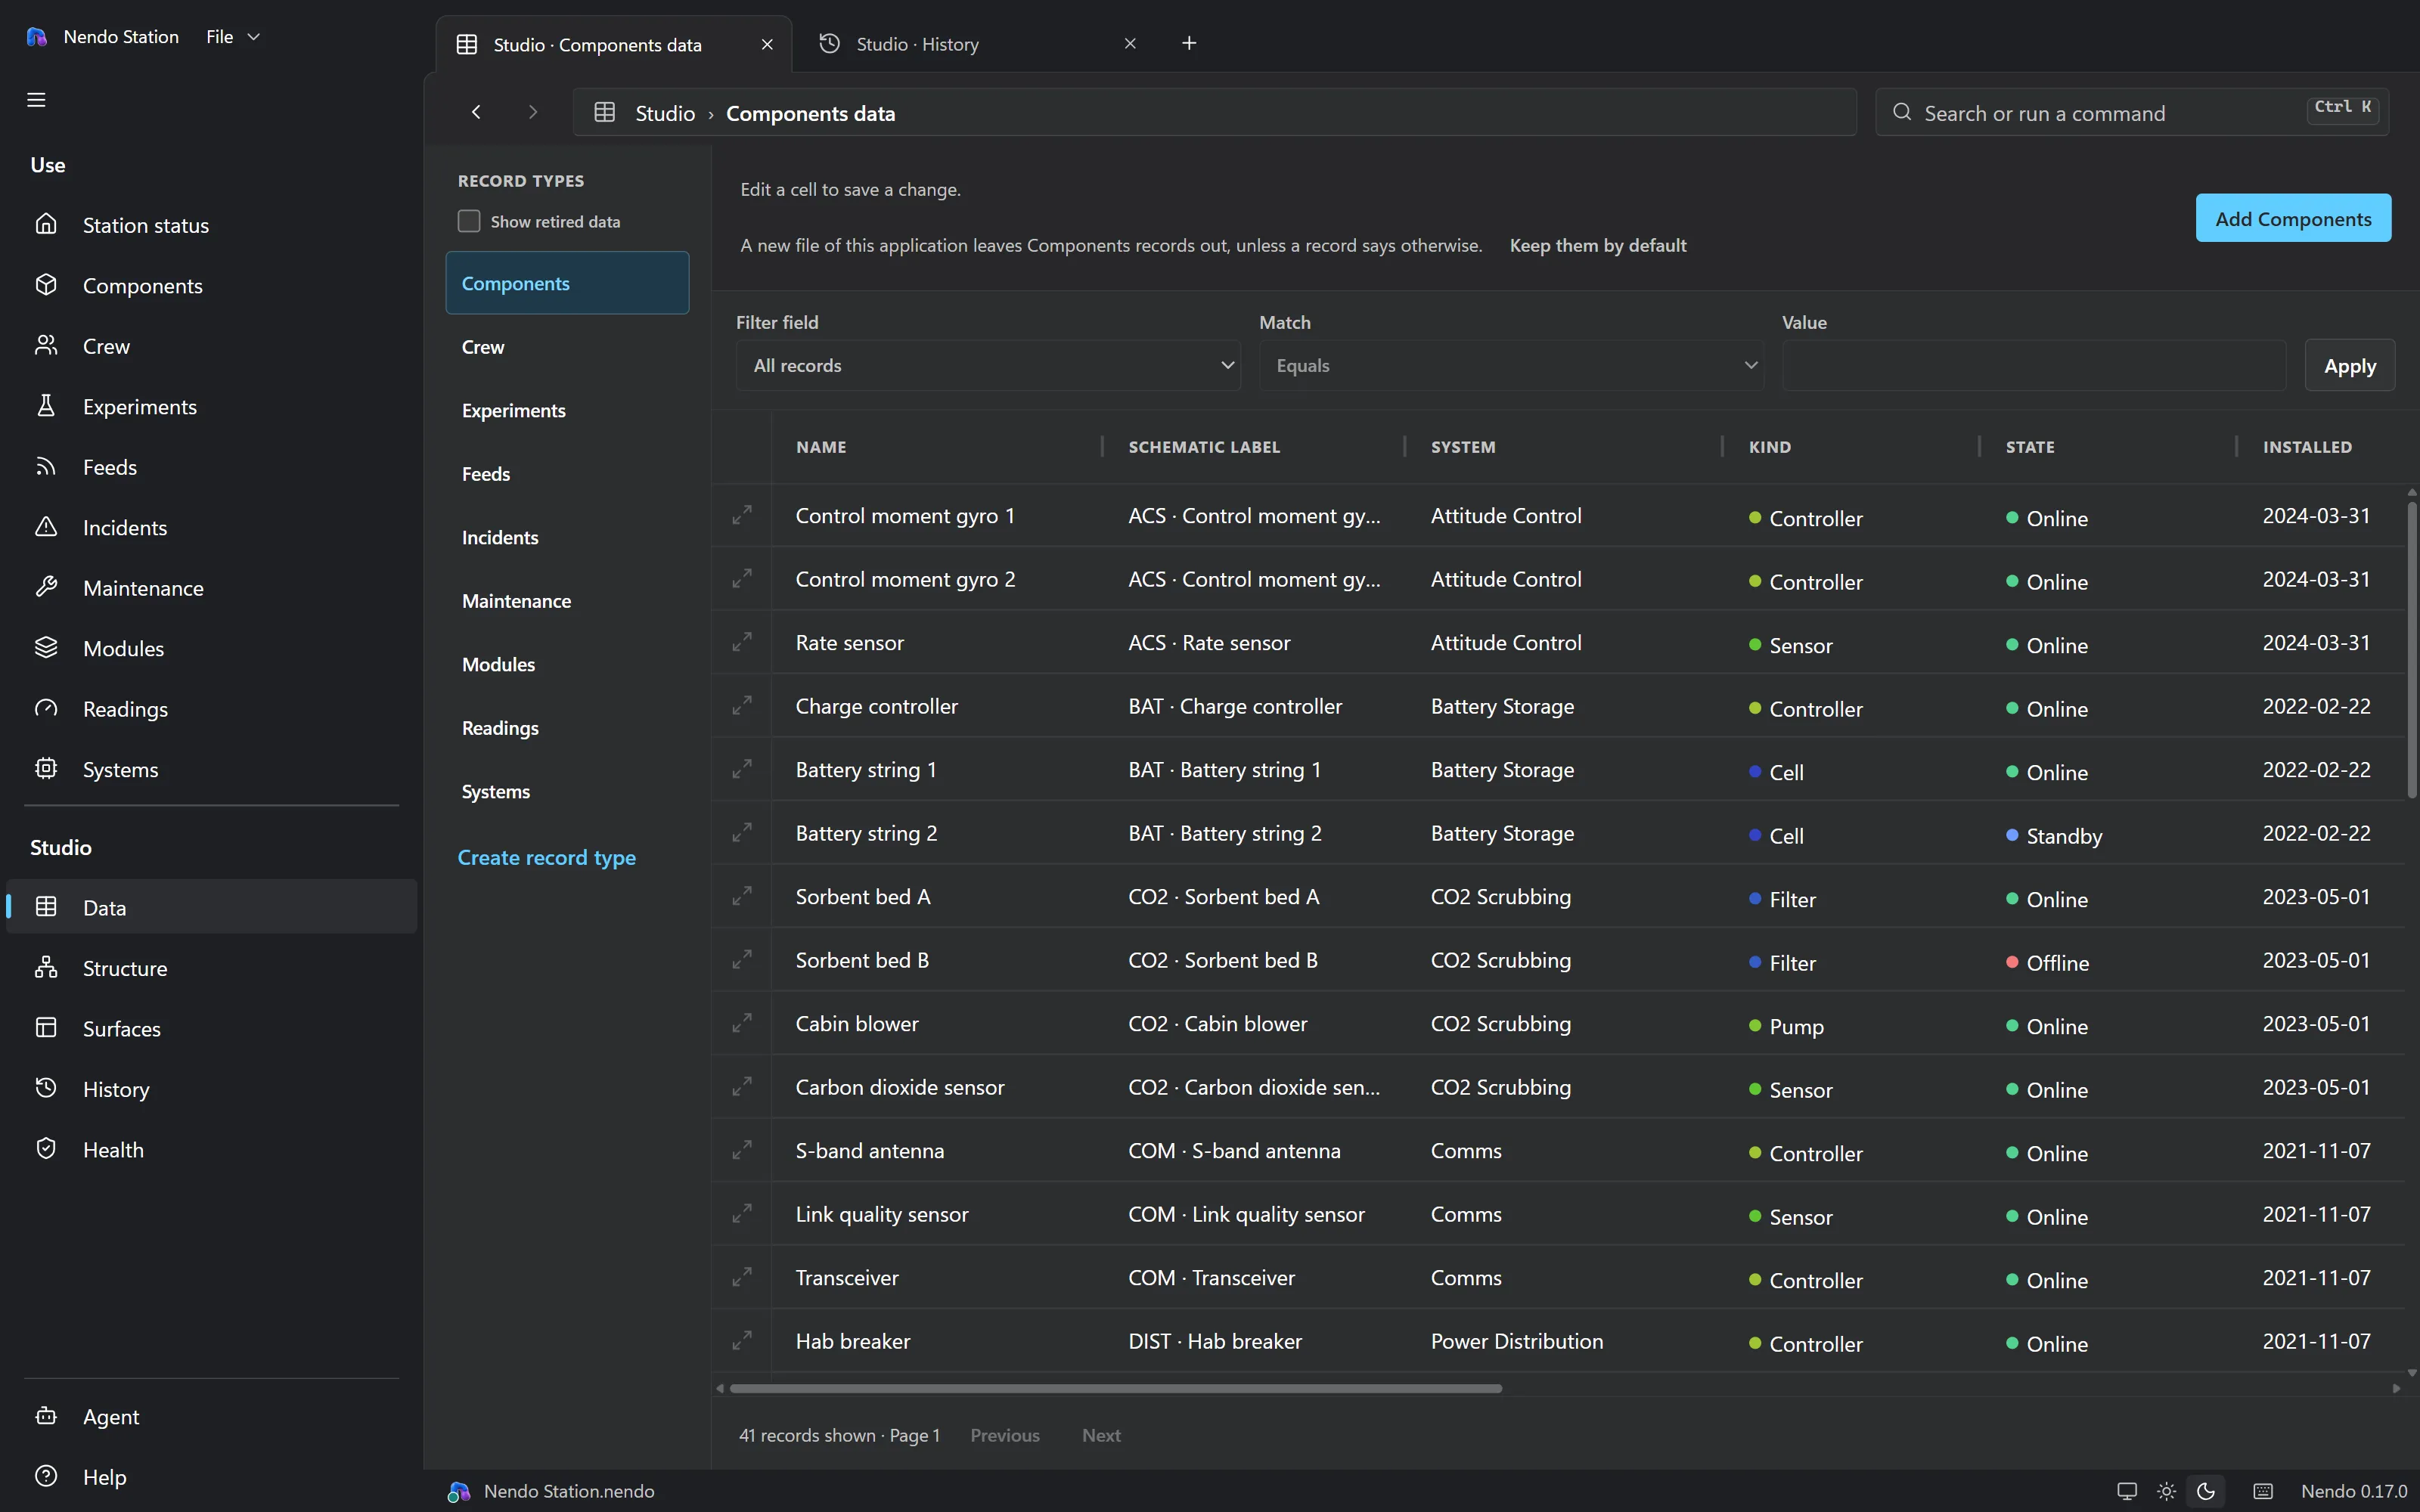
The table and the record editor. This part can never be removed.
Record types, fields and relationships. Changes here become proposals to review.
The screens in the file, and what each one is bound to.
Every revision in order, and whether it can be undone.
Compatibility, integrity and trust checks, and this computer's approval for automatic actions.
Step four
While a file is open with agent access on, Nendo listens athttp://127.0.0.1:41763/mcp. That address is all a client needs; there is no key or password.
claude mcp add --transport http nendo http://127.0.0.1:41763/mcp
codex mcp add nendo --url http://127.0.0.1:41763/mcp
The repository already includes both registrations (.mcp.json and.codex/config.toml), so an agent started in a clone connects as soon as a file is open. If port 41763 was taken, Agent › Connection shows the address Nendo is using and can copy either command.
No password also means any program on this computer can connect at the access level you chose, so turn access Off when no agent is working. This keeps other computers out. It does not protect you from malware on this one.
Claude Code and Codex are the only clients that have been tested. Other MCP clients may work, but nobody has checked.
The journey
The Idea Garden journey is the standard walkthrough, with the exact prompt to give the agent at each step. Start here if you have never opened a .nendofile.
Create a file; it works while empty. Add a record type and a few records by hand in Studio, with no agent involved.
Turn on agent access, describe what you want in your own words, read the diff and accept it.
Import a CSV. It is saved in batches of up to a hundred rows rather than all at once, and History records each accepted batch.
Ask for a board, a calendar, a record page or a front page. Each arrives as a proposal you review before it exists.
Close everything, disconnect from the network and reopen. Your data is still there in Studio, whether or not the custom screens still work.
The demonstration
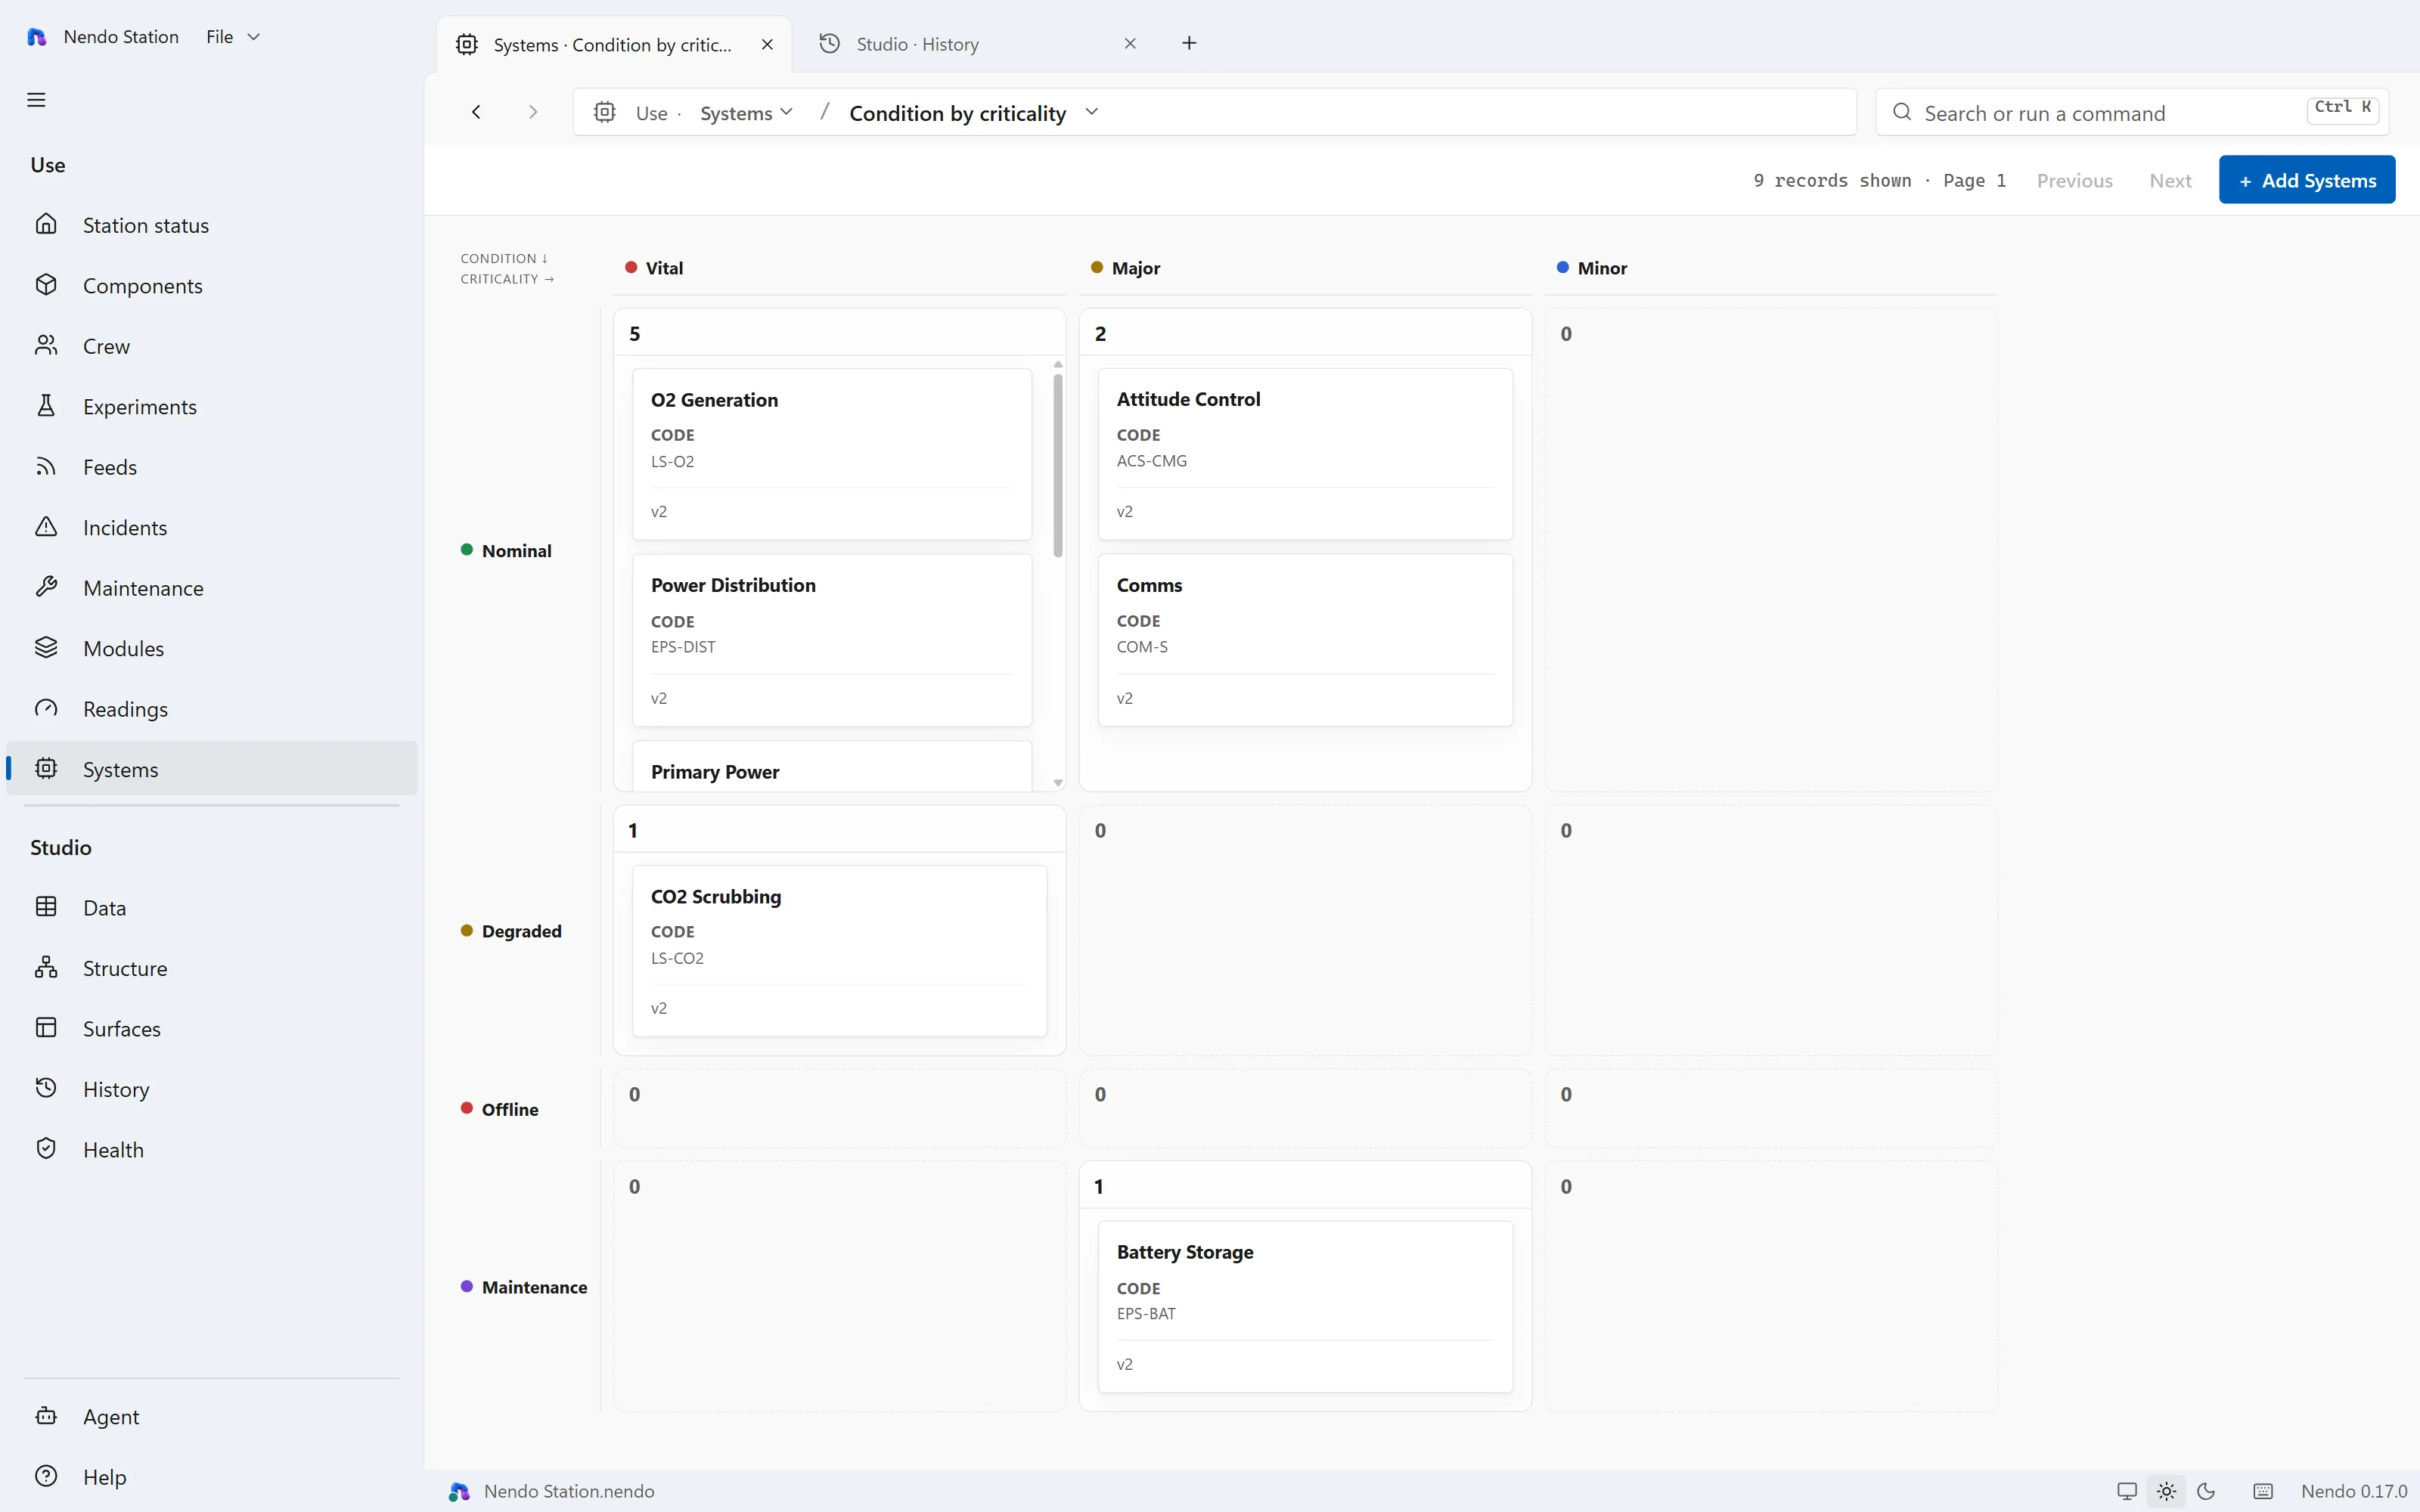
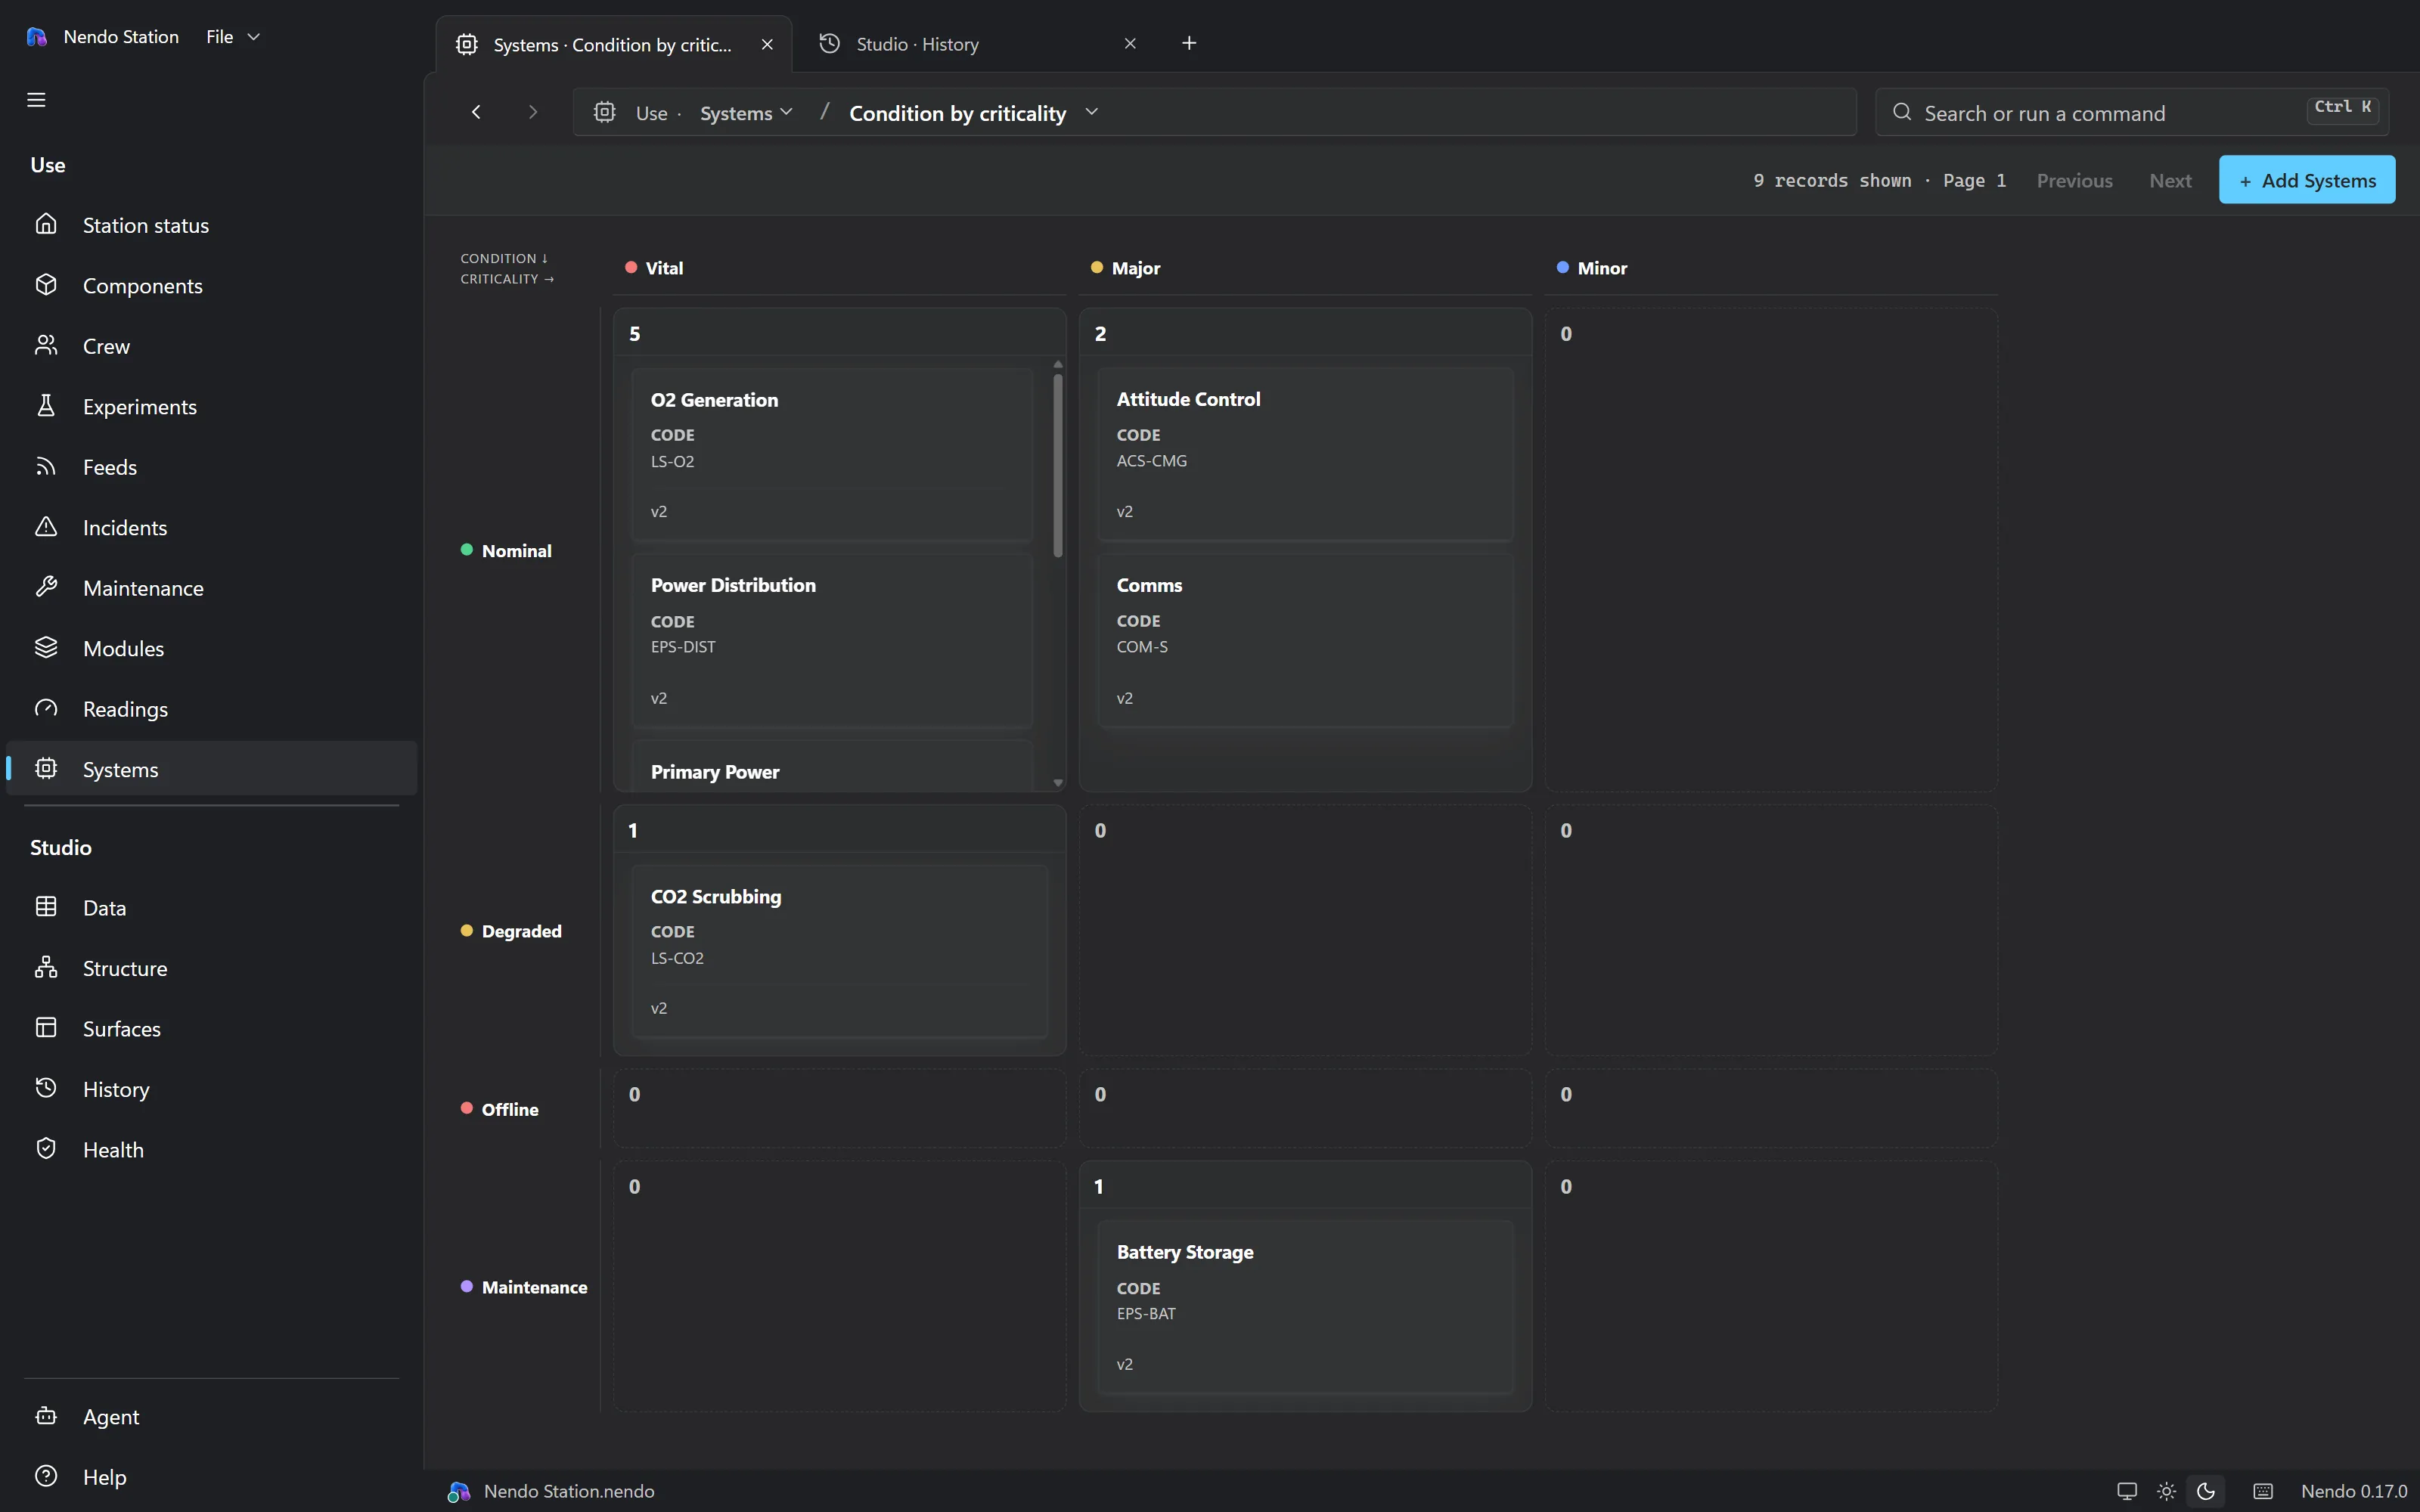
The fourth reference application, and the quickest way to show someone what Nendo does. The screenshots on this site come from it. The last three steps are the test the vision sets for the whole project, done live.
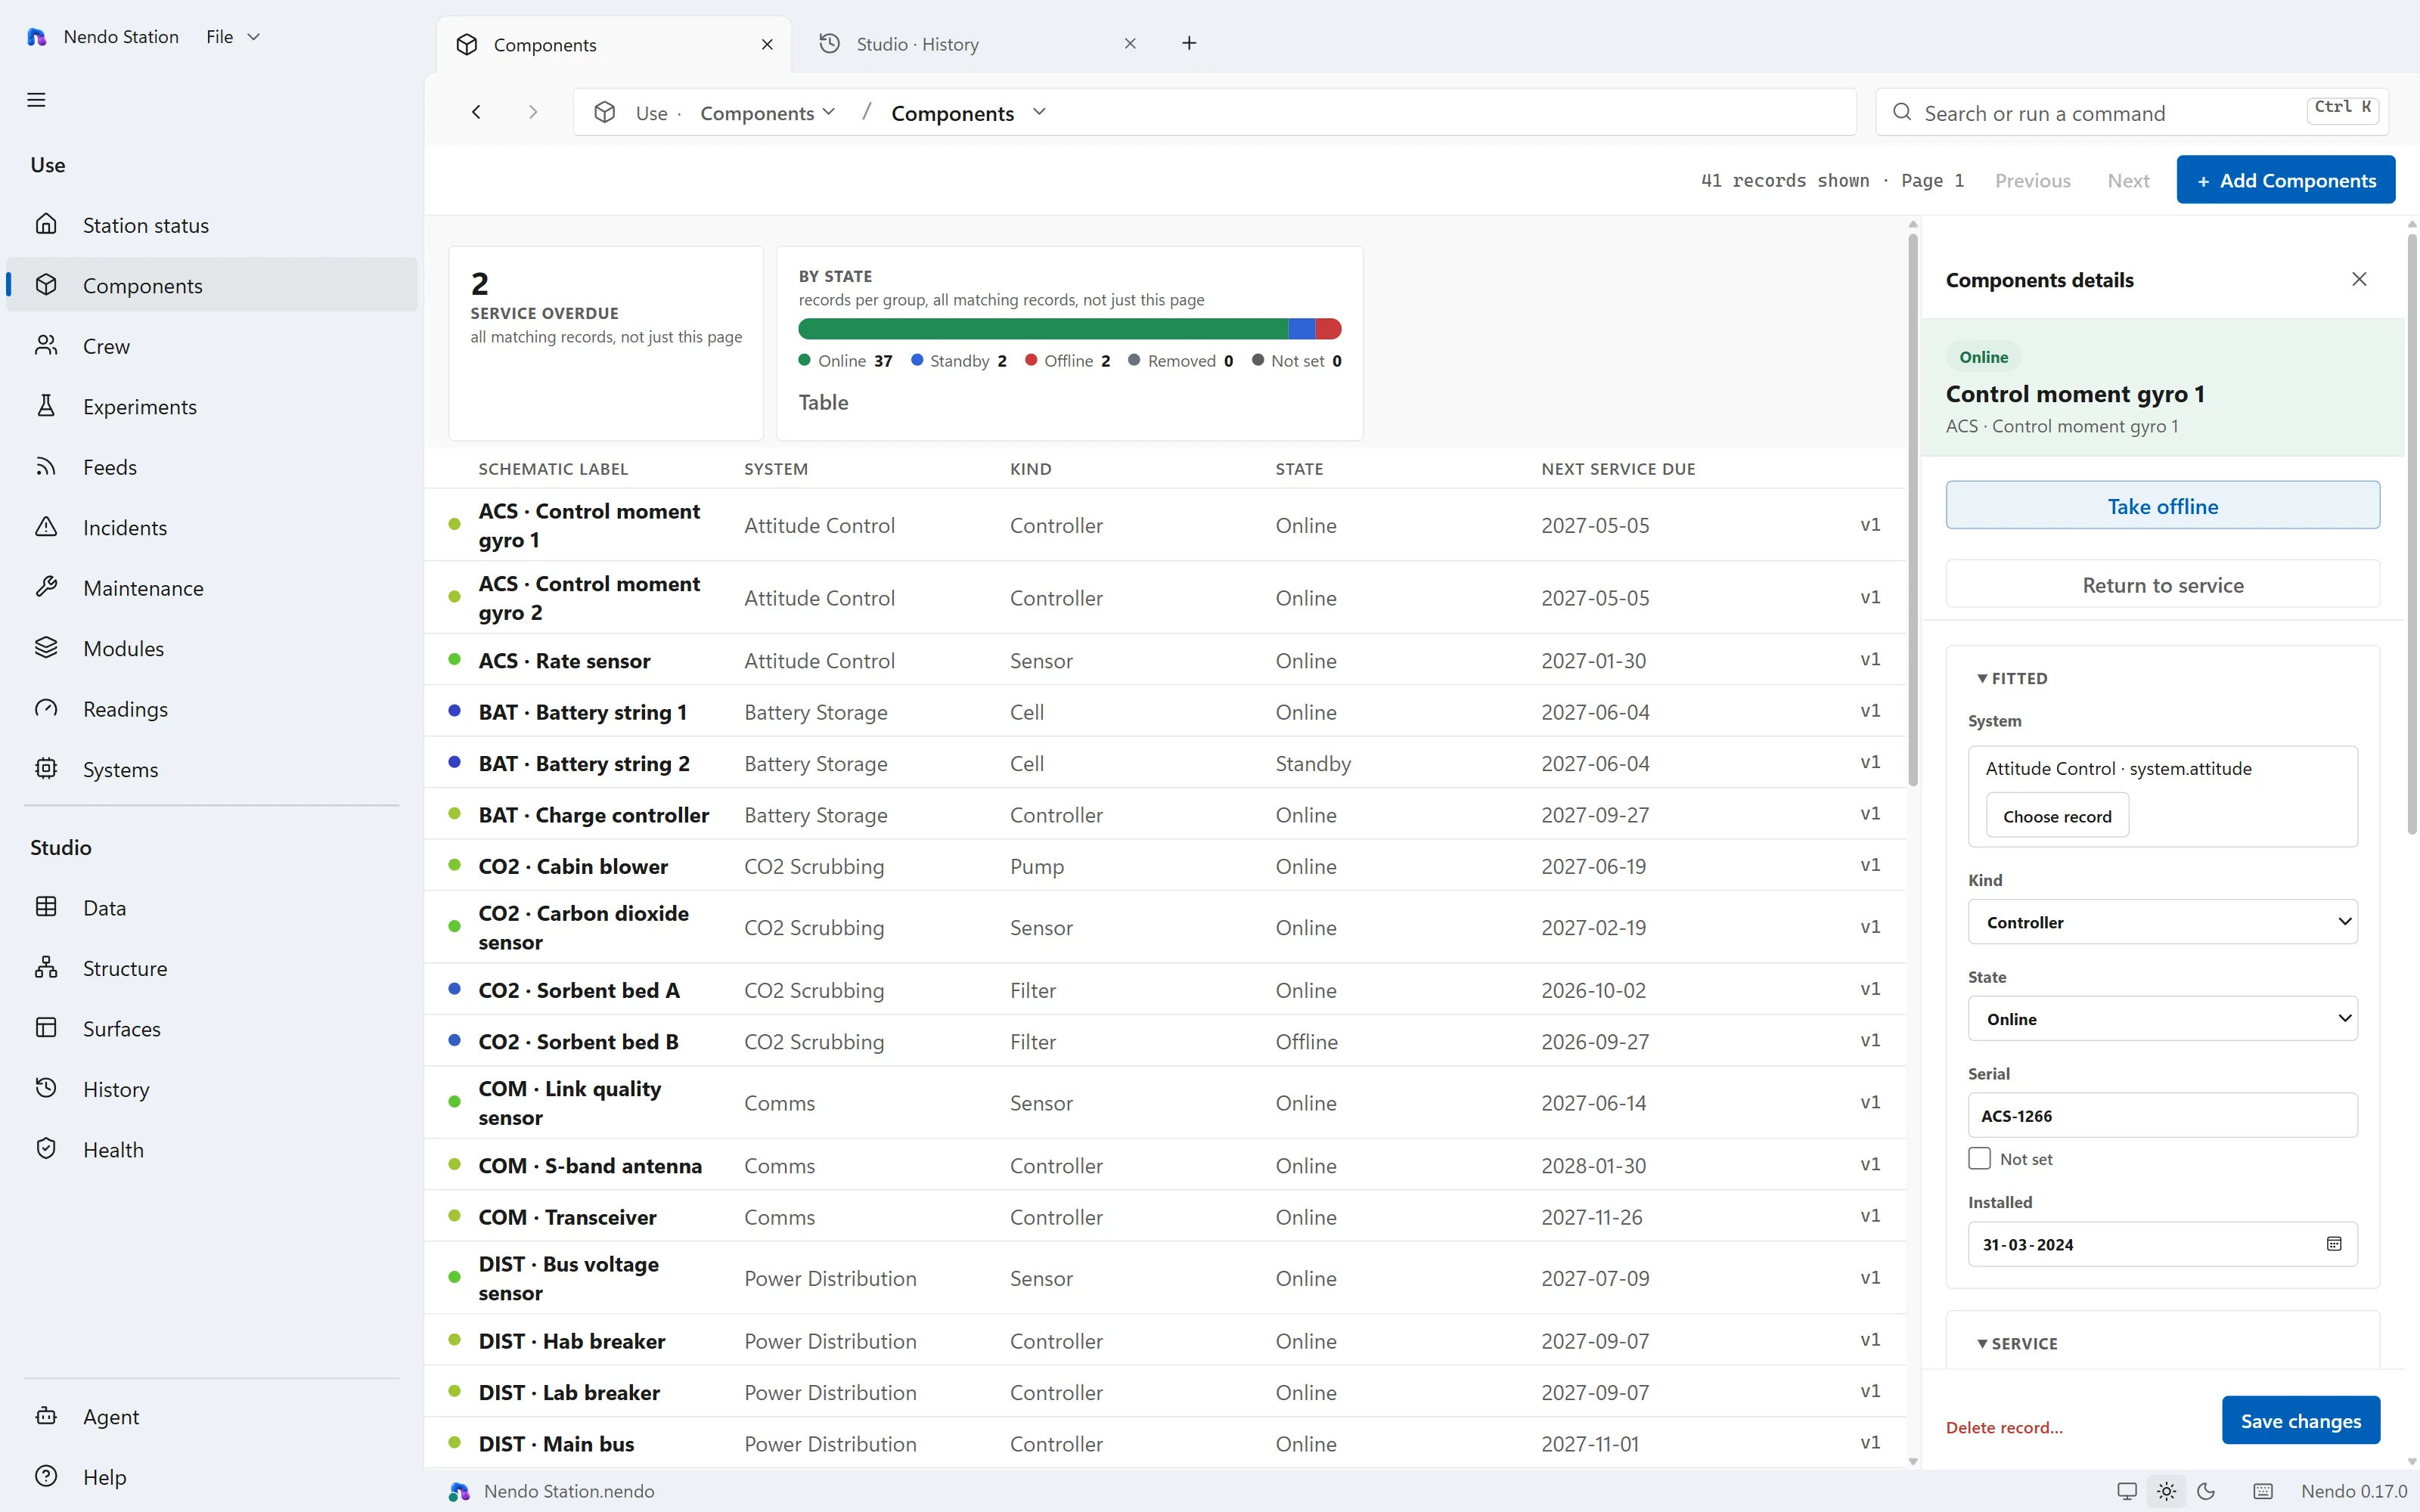
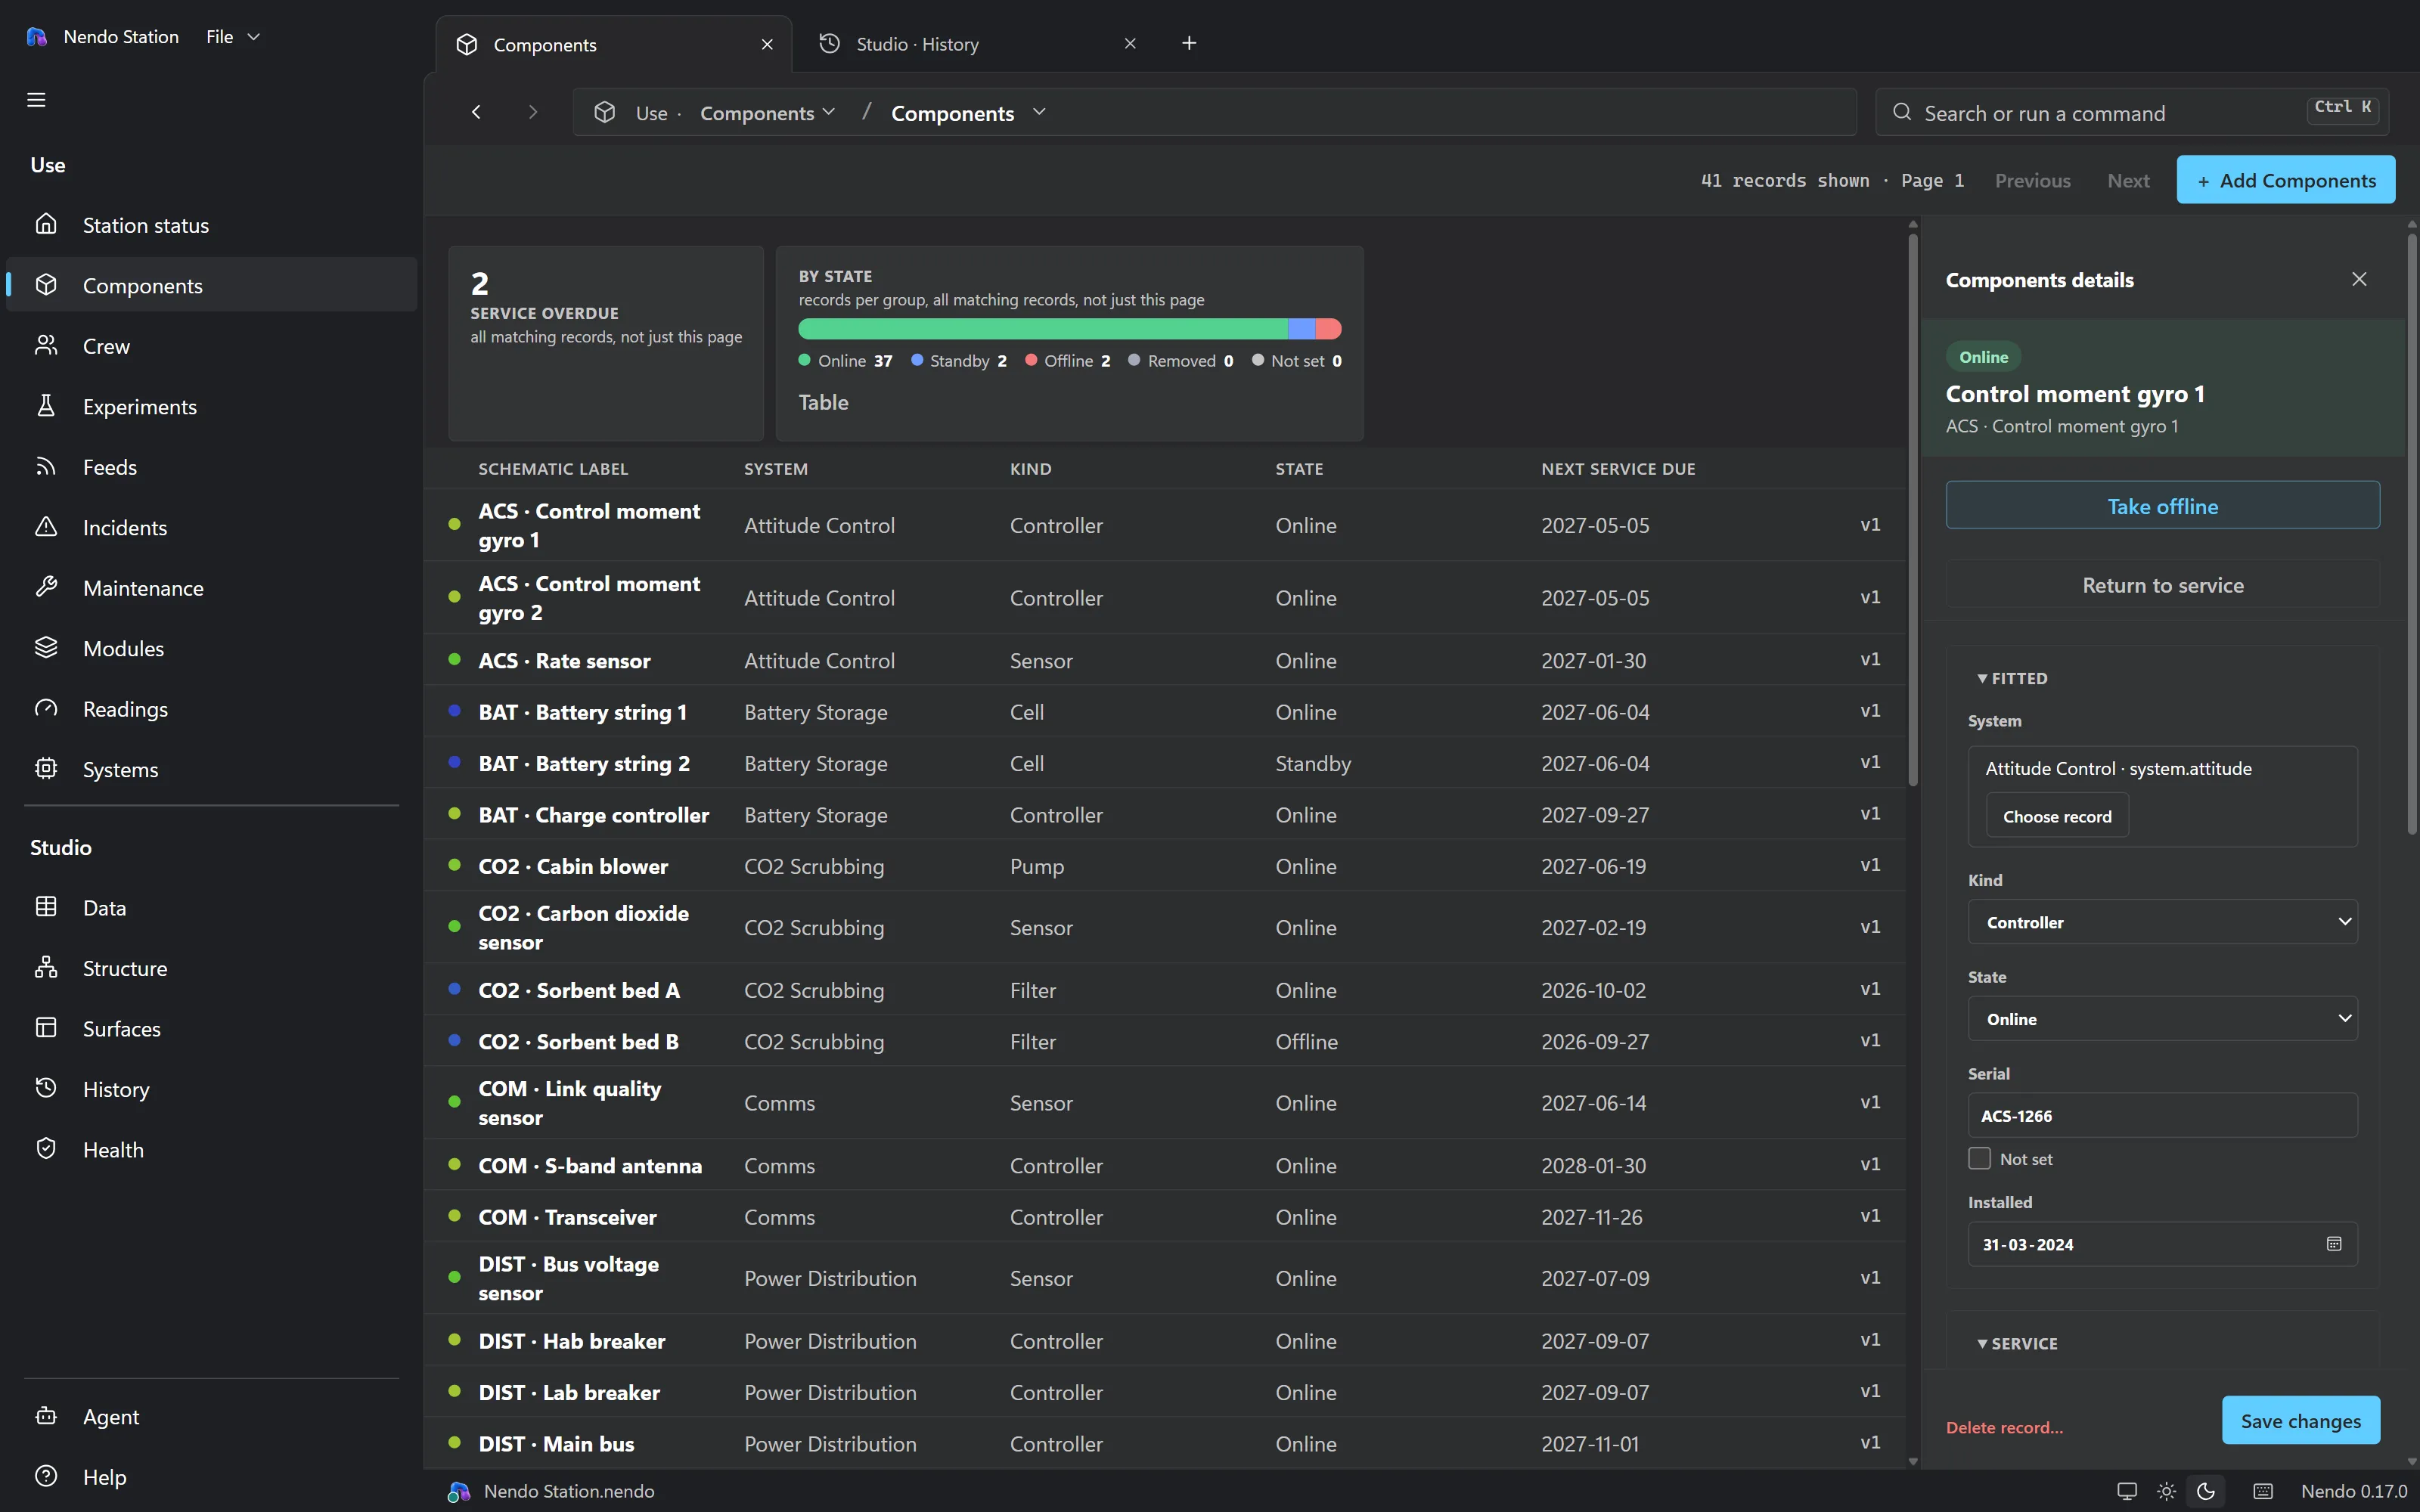
What comes with it
Both follow a documented format. The app saves an import in batches of up to a hundred rows, and an agent import saves fifty rows per revision. Each accepted batch is recorded.
A custom view is a small web page whose code the file carries. It arrives as a proposal you review line by line, and once you accept it, it runs wherever its screen is shown, with nothing to install and nothing to allow. Two switches on this computer turn views off, for every file or for one.
Closing the window hides Nendo in the notification area, with its file still open and MCP still listening. While it is hidden, four kinds of event raise a Windows notification. Clicking one only opens a view; it can't approve anything.
Five sections: Getting started, How Nendo works, Everyday work, Agents, and About this app. Help works with no file open, in read-only mode and in recovery. About this app is generated from the file that is currently open.